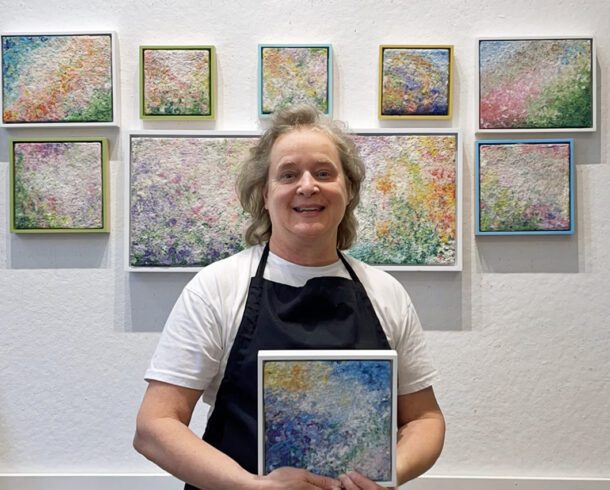
Jul 20, 2009 | Pulp painting
The turkey baster is used to apply larger quantities of pulp to the painting surface. I place approximately one cup of pigmented pulp into a plastic container (such as a yogurt container) and fill the rest of the container with water. I then suck the pulp up into...
Jul 14, 2009 | Pulp painting
The squeeze bottle holds over-beaten pulp that can be used for detailed areas of the painting. In the photo above, I am squeezing over-beaten pulp, which has been diluted in a cup of formation aid, onto the surface of the painting “Changing Seasons” shown here in...
Jul 13, 2009 | Pulp painting
The term “Tools” can be used to describe a lot of the made up concoctions I use to create a handmade paper painting. In the photo above, I am using one of my favorite made up tools: an embroidery needle wedged into the eraser end of a number 2 pencil. I use this...
Jul 8, 2009 | Pulp painting
Re-working into a handmade paper painting is tricky. The water used in the pulp that is applied to the surface of the in-progress painting warps it, and it can take a fair amount of labor to re-stretch the painting so that it lies flat again. To off-set the negative...
Jul 3, 2009 | Pulp painting
Painting with over beaten pulp can take a while to get comfortable with. Before going into a lot of detail of how to work with over-beaten pulp, let’s answer the important question of “What is over-beaten pulp?” Over-beaten pulp refers to pulp that has been beaten...
Jul 1, 2009 | Pulp painting
To aid in excess water removal from the surface of the in-progress painting, I tilt the screen the painting is adhered to so that excess water will drip off the surface and onto the vacuum table. I leave the screen in this position for approximately 30 minutes, while...
