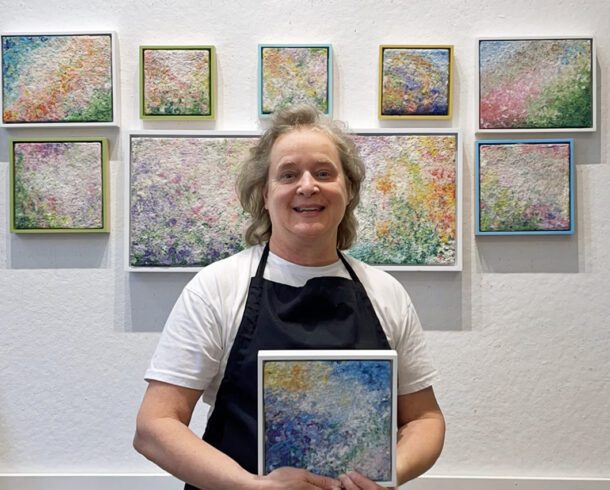
Jun 23, 2009 | Pulp painting
Wet pulp is difficult to control to say the least! Unlike paint that can be applied with a brush, pulp dispersed in water is slippery and shapeless. In fact, the ratio of water to pulp in the wet stage is approximately 90/10. To help control where the pulp lands on...
Jun 16, 2009 | Pulp painting
In yesterday’s post I wrote about using an outline to guide me of where to place the colored pulp. As I cannot work from an easel as the wet pulp would slide off the surface, instead, I work on a flat surface. As I mentioned yesterday, I draw onto the surface of ...
Jun 15, 2009 | Pulp painting
I draw onto the surface of in-progress paintings with different colored grease crayons in order to guide me as I continue to work. Let me explain. My paintings originate from my own photos. I print out a photo, and, as I learned in drawing 101, I grid the photo...
Jun 4, 2009 | Pulp painting
A pail is placed at one end of the vacuum table to collect excess water that drains from a painting during the painting process. This end of the vacuum table has a drilled hole in it in order to collect the water. The table is slightly angled on the saw horses so...
Jun 1, 2009 | Pulp painting
During the painting process, the pulp painting rests on a sheet of egg crating. This allows the water to drip from the painting onto the vacuum table, where it will eventually exit the table via the hole in the bottom of the table. Small containers of pigmented pulp...
Feb 9, 2009 | Pulp painting
I have continued to work with the Rock and Water motif. This painting, made exclusively with handmade paper, is 40 x 40 x 2.5 inches-very large scale compared to my other work. I love the bulk of this painting and the textured surface. It reminds me of the ocean...